Setup Business Hours Compliance
This section helps you set Business Hours for your offices based in the Countries you send messages to.
The messages will not be sent outside the specified timeline that you choose for your business for the specified countries. The messages will be queued for the next day and sent once that country is open for business.

To Add Business Hours, follow the below steps –
- Click on Add Business Hours
- Select the Country of your Business
- Select the Time zone
- Select the duration of Business Hours
- Click on the ‘Add’ button
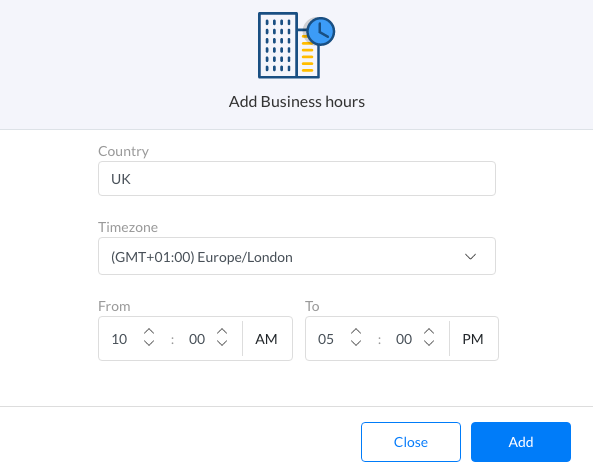
The Business Hours will get added to the list. You can enable/disable the Business Hours by using the toggle button.
You can edit the time zone and duration of Business Hours by clicking on the Edit button.
Out of Office (OOO) Auto Reply
You can now set up an Out Of Office Auto Reply message, to let your customers know that your Working Hours are complete for the day and you will reach out to them the next day. This Auto-Reply gets triggered on receiving a message from your customers outside the set Business Hours based on your Customer’s country (Mobile Number’s Country code).
To set the business hours, Out of Office (OOO) auto-reply, users need to follow the below steps:
Step 1
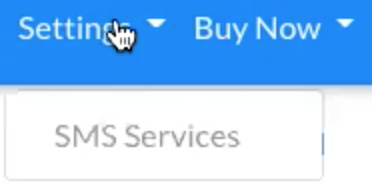
- Under the ‘Settings’ menu, click on the ‘SMS Services’ option. The following page will appear:
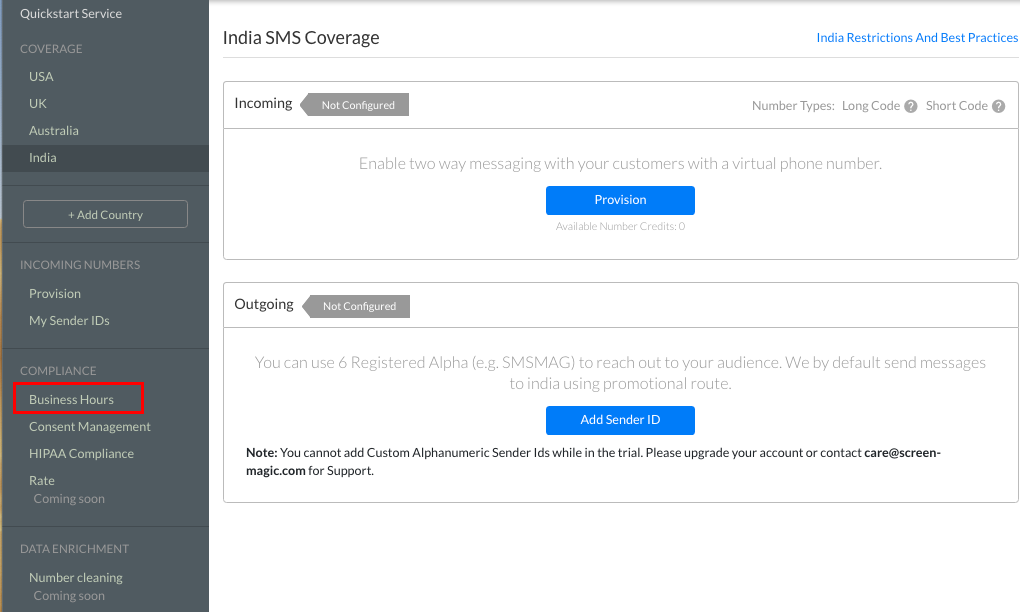
- Click on the ‘Business Hours’ section under the ‘Compliance’ menu on the left. Users will be redirected to the following Business Hours section:

Here, users will have to first set up an auto-reply message by selecting a message template of type Automation and then enable the OOO auto-reply option.
Step 2
- First, the user needs to create a message template. To create a template, click on the ‘Message Templates’ option from the ‘Campaign’ drop-down list:
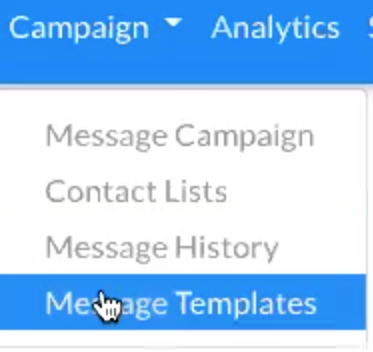
- The following template creation window will appear:

- You can select the available templates or create a new one. To create a new template, click on the ‘Create New’ button. The following window will appear:
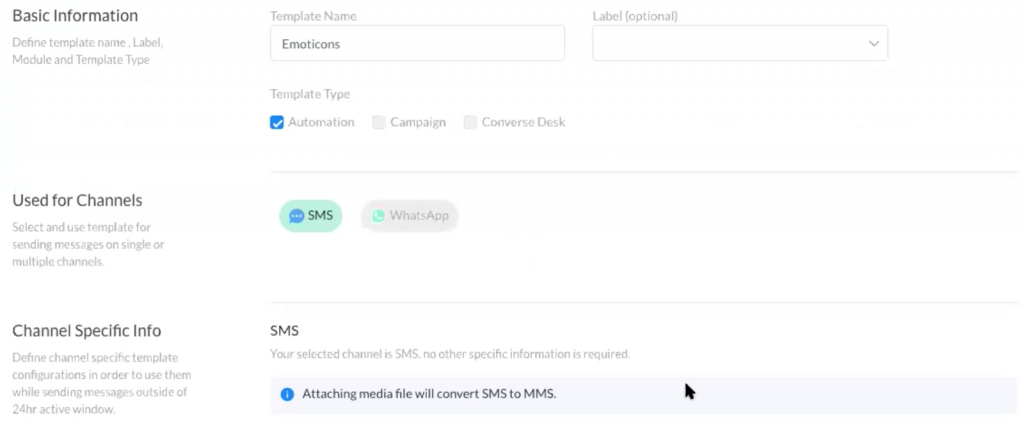
- Fill the details in all fields, select the template type as ‘Automation’, enter a text to be sent as Auto Reply and click on the ‘Save’ button to save the template. Once the template is created, the user can set the auto-reply.
Step 3
- Click on the ‘Set Auto Reply’ button. The following message template window will appear:
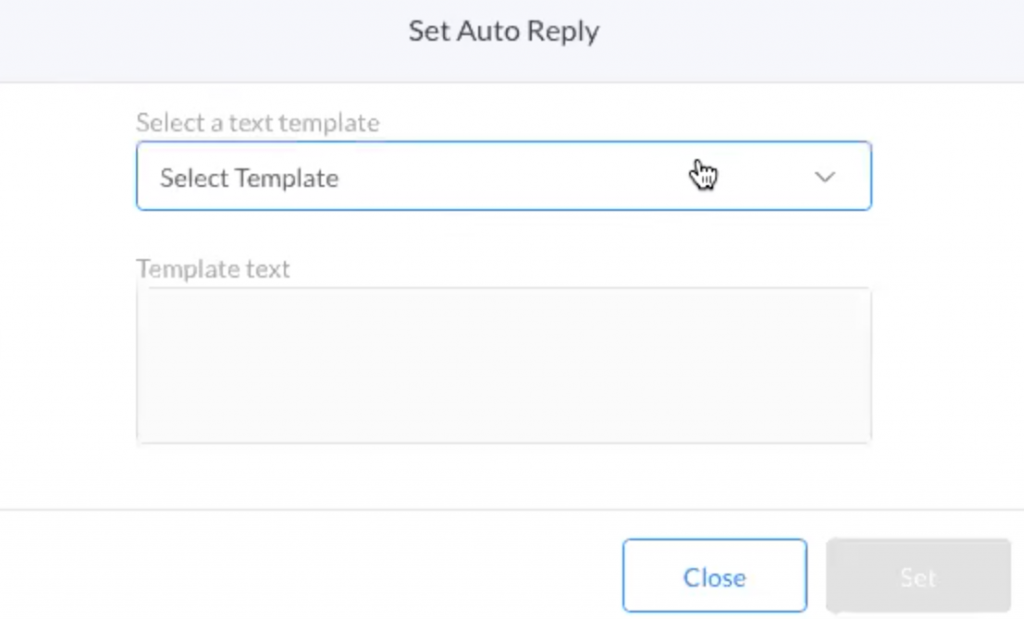
- Here, the user can select the SMS text template from the drop-down list and click on the ‘Set’ button.

Click on the ‘toggle button on the right to enable the auto-reply. Once the auto-reply is set, it will be sent to the recipients who send you messages outside the set business hours.
For instance, if you have set your office hours from 9.00 am to 6.00 pm, India time, so this auto-reply will be sent to any message that you receive from 6.00 pm to 9.00 am. Even if you receive messages from a particular mobile number multiple times outside your set office hours, the auto-reply will be sent only once in 24 hours.
Similarly, you can set business hours for any country and once you enable the OOO, it will send an auto-reply if a message is received outside the business hours set for that country. You can change the message template by clicking on the ‘Edit Auto Reply’ button.


