Create a Custom Inbox
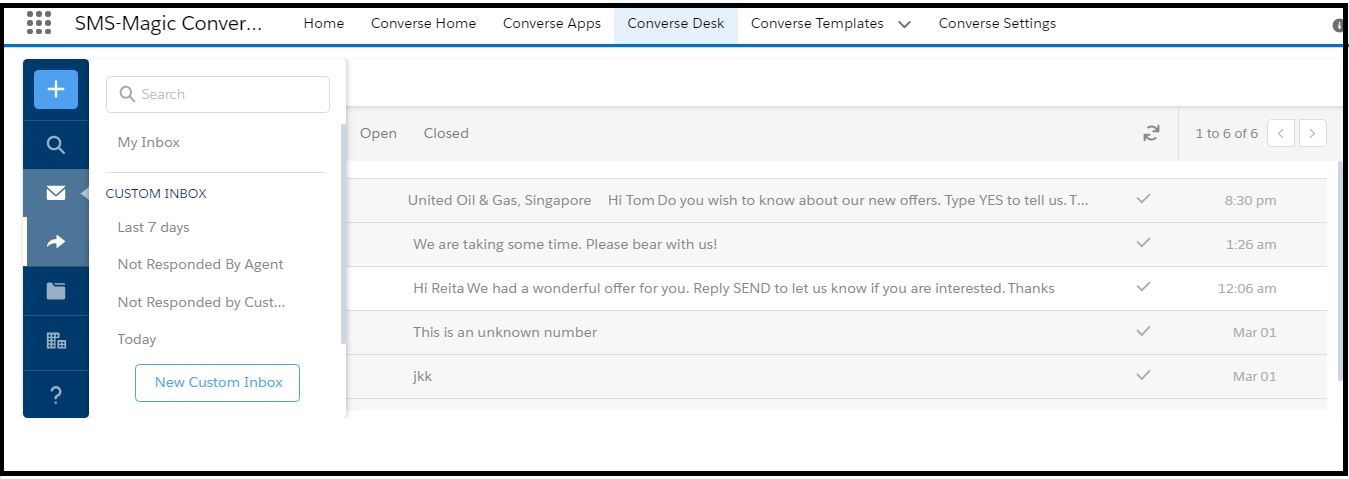
- In Converse Desk, click Inbox. The list of conversations appear.
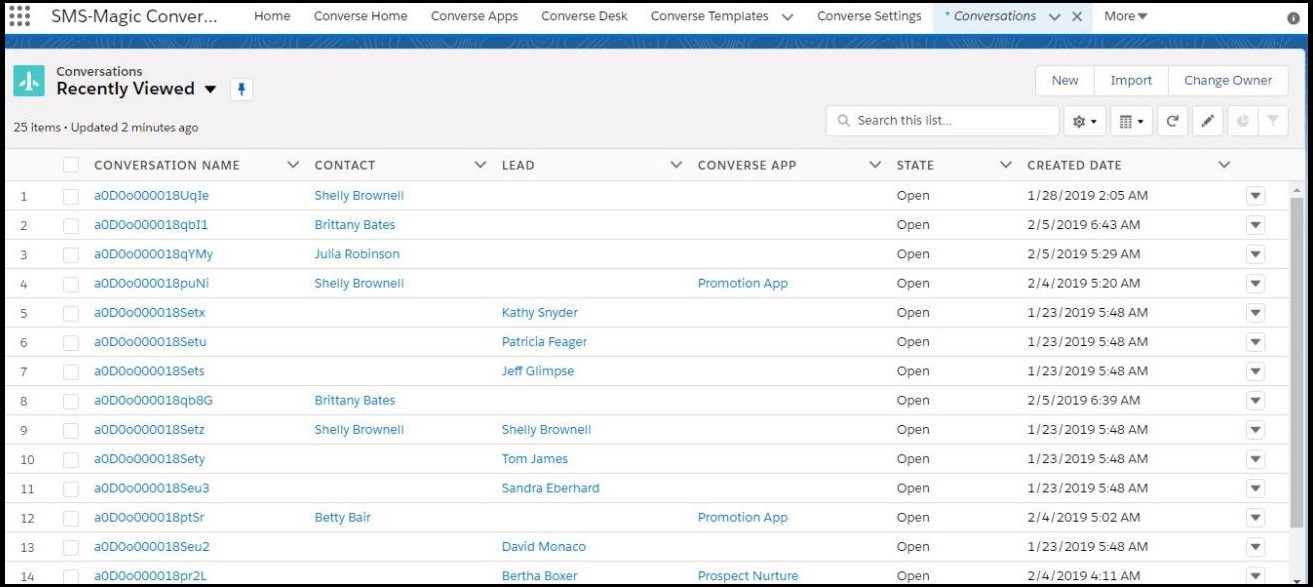
- Click New Custom Inbox. The Default list view appears under the Conversations tab.
- Click
 to change list view to All from the header.
 - Click
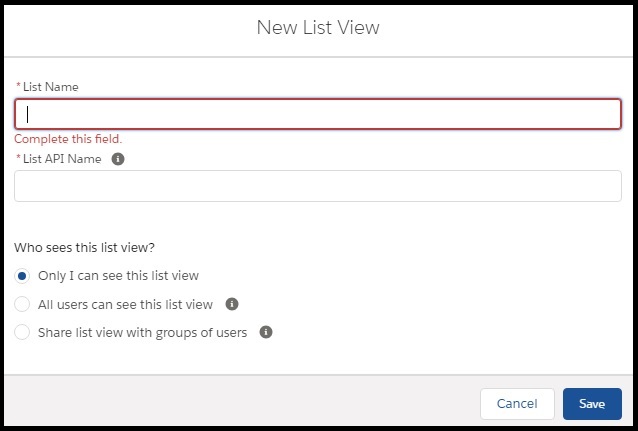
 and then click New under the List View Controls menu that appears. The New List View appears.
 - Under List Name, enter the name you want to assign to the list.
- Under List API Name, enter the API name for the list.
- Select the user group to whom you want to make this list available. The available options are:
- Only I can see this view – Click this to make the list view available to you
- All users can see this list view – Click this to make the list view available to all users in your organization
- Share list view with group of users – Click this to make the list view available to selected teams within your organization. You can select the relevant teams from the list that appears.
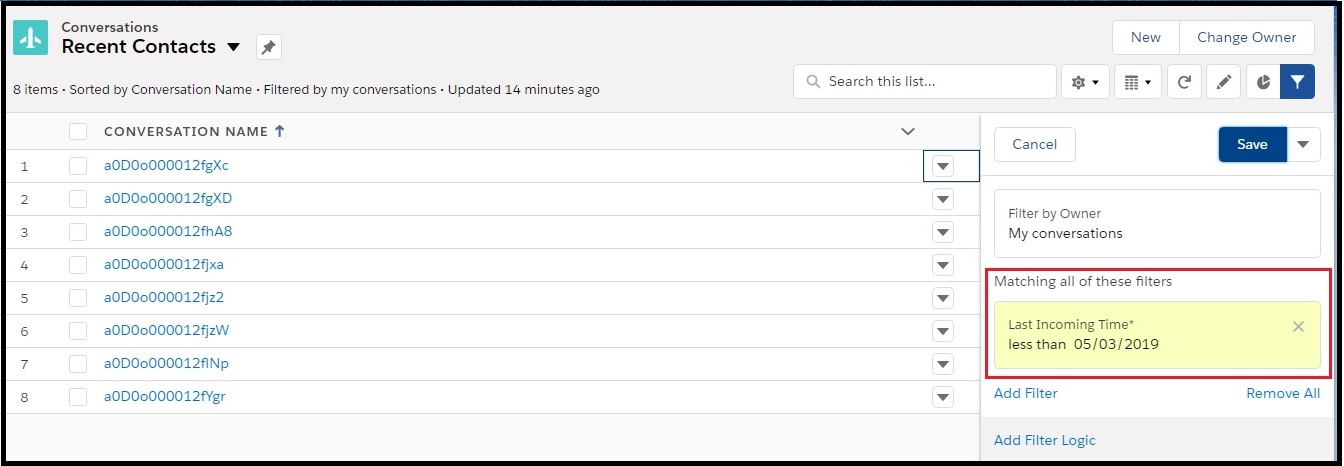
- Click Save. The custom list view is created and the filter screen appears.
- Click Add Filter. The add filter fields appear.
- Under Field, click the drop-down menu to select the field by which you want to filter conversations for including it in the list view.
- Under Operator, click the drop-down menu to select the filter operator.
- Under Value, enter the value by which you want to filter the conversations.
- Click Done. The filter conditions appear as shown.
- Click Save to create the custom Inbox.
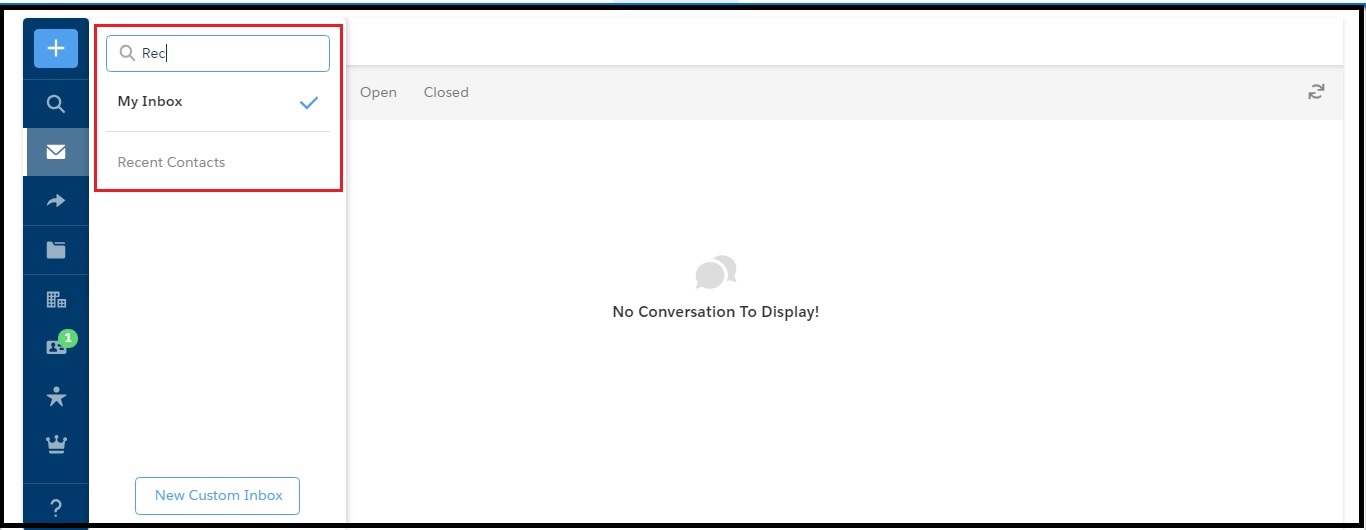
- On the Converse Desk, click Inbox. The available lists appear.
- Search for the Custom Inbox view you have created. The search results appear.
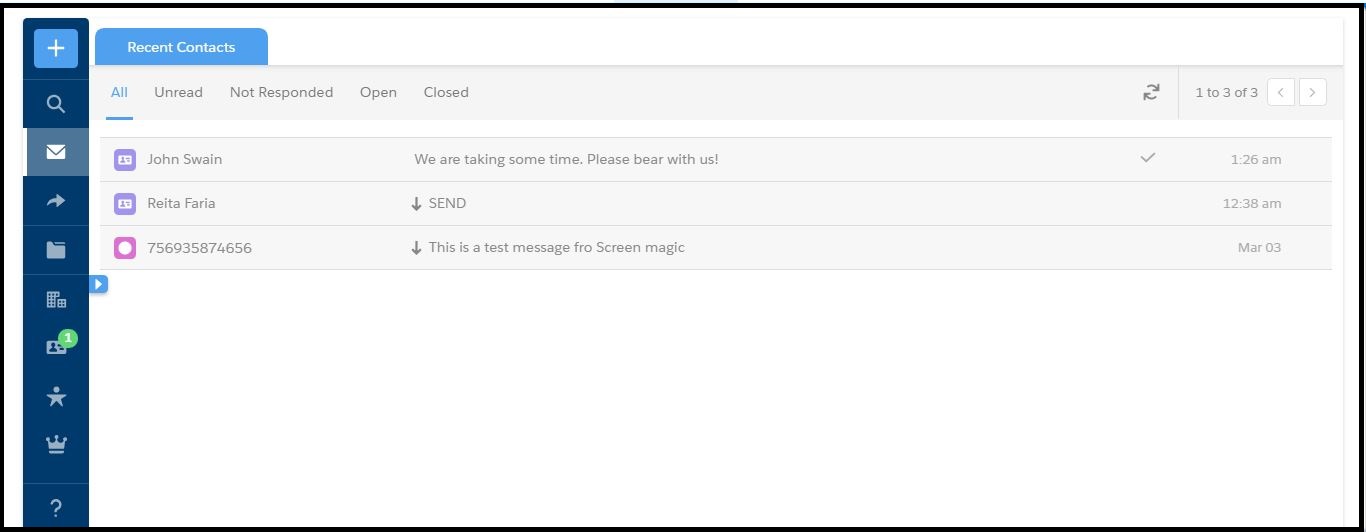
- Click the custom Inbox list view name you have created. The conversation list appears.
