Configure Conversations/Conversations View on Lightning
To Configure Conversation/Conversation View on Lightning, follow the below steps:
- Login to Salesforce using the following page:
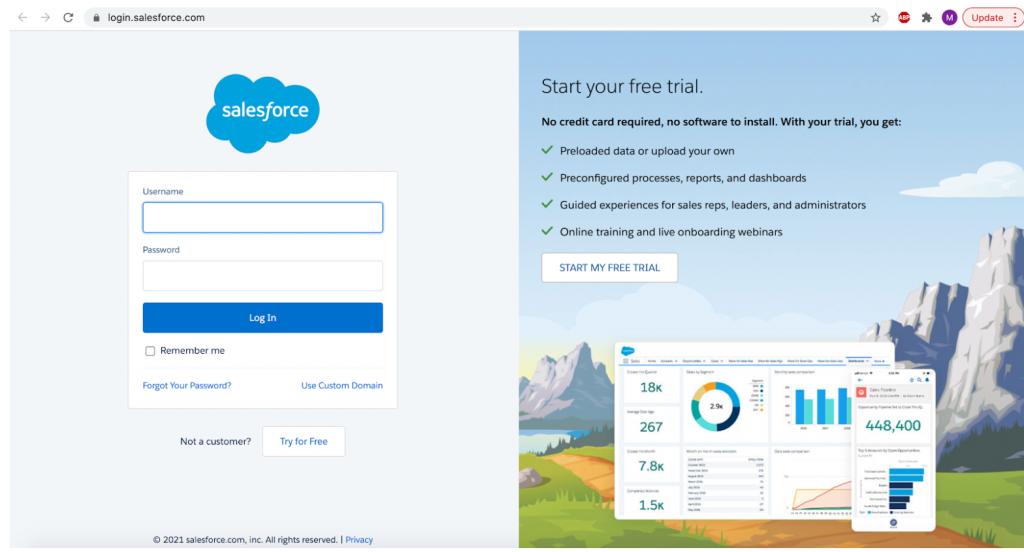
- To login, enter the Username and Password in respective fields and click Login In button.
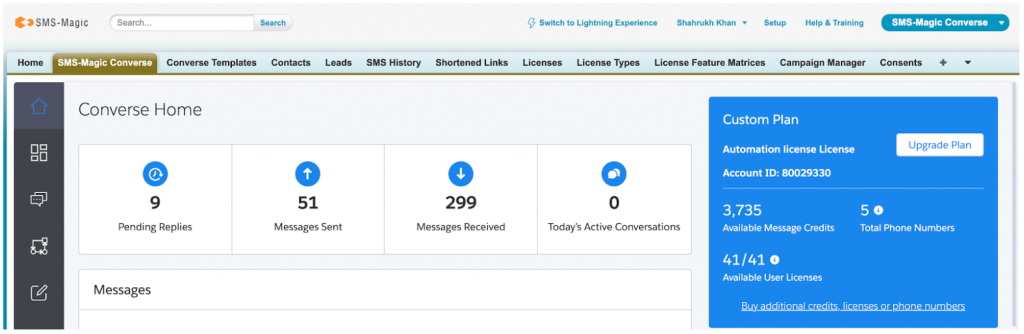
- The following SMS-Magic Converse Home page appears:
- To proceed, switch to Lightning view (if you are on the Classic view) by clicking on the ‘Switch to Lightning Experience’ link on the top.
- The following Lightning home page will appear:
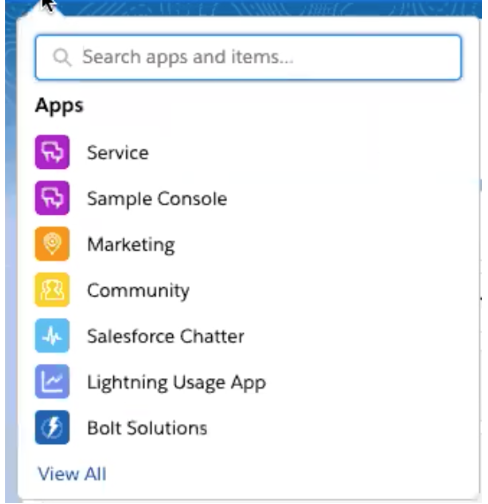
- Click on the colored dots beside Console Blink on the left. The following options will appear:
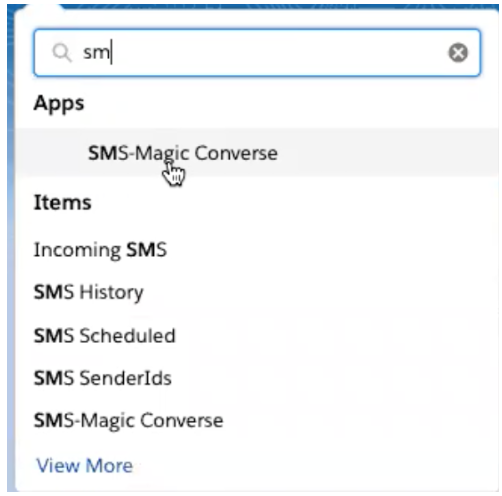
- Search for SMS-Magic Converse, as shown in the image below:
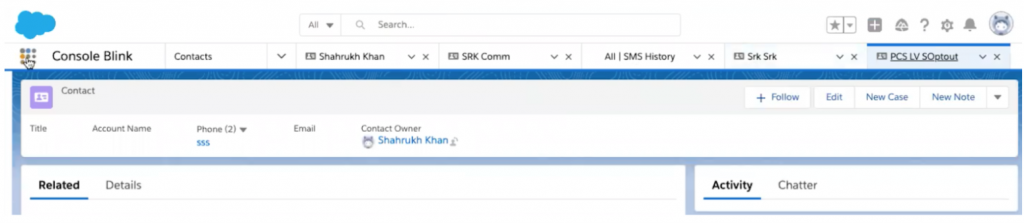
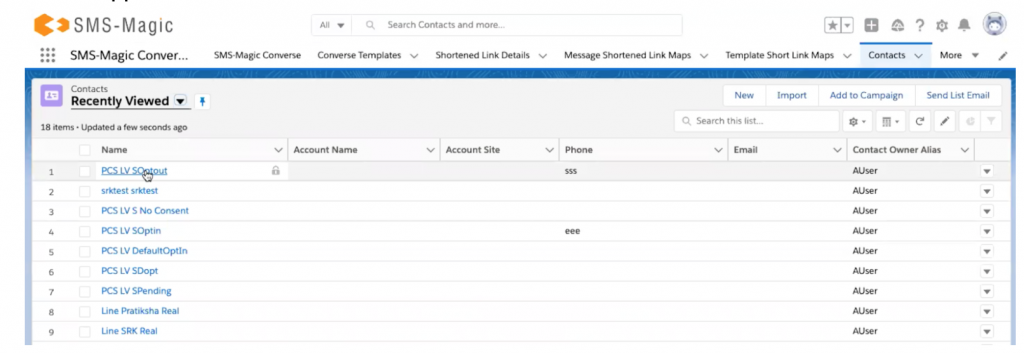
- The following page will appear:

- Here, click on the Contacts tab as highlighted in the image above. A list of contacts will appear:
- Click on any contact to open its details page:
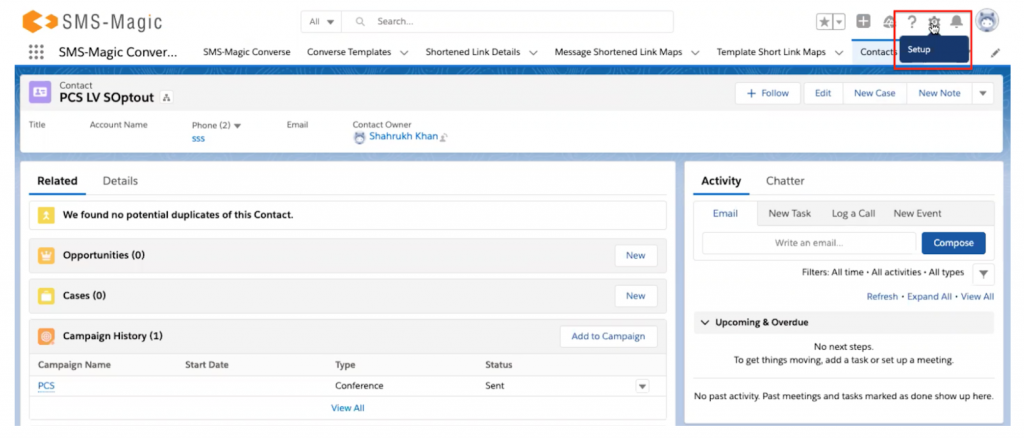
- Here, click on the Setup icon as highlighted on the top right. The following options will appear:
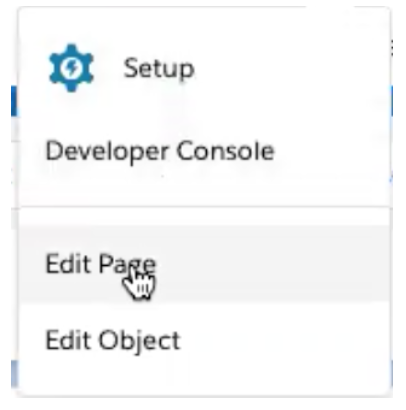
- Click on Edit Page

- To add the Conversation/Conversation View component, click on the Details tab
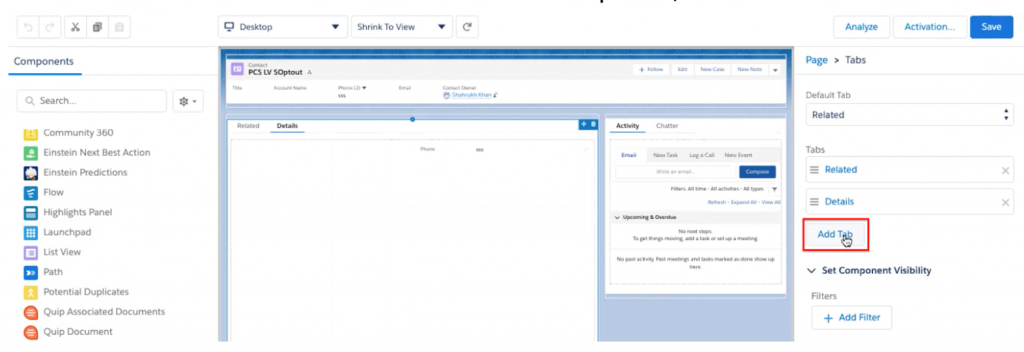
- A few menu options will appear on the right. Here, click on the Add Tab button.
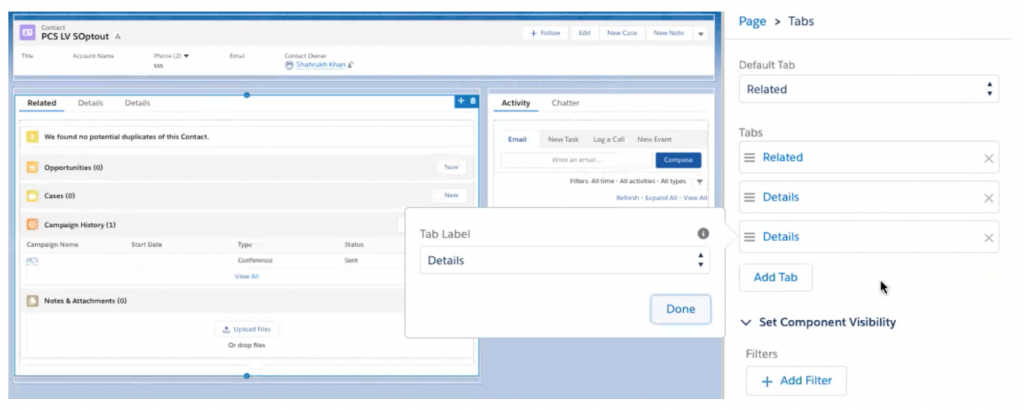
- Click on the Details field to add the Tab Label
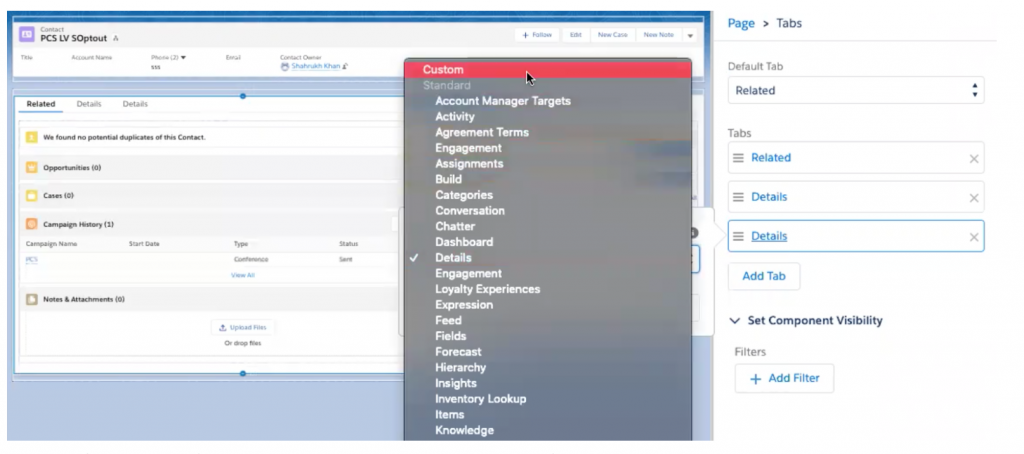
- Select the Custom option to enter the name of the label
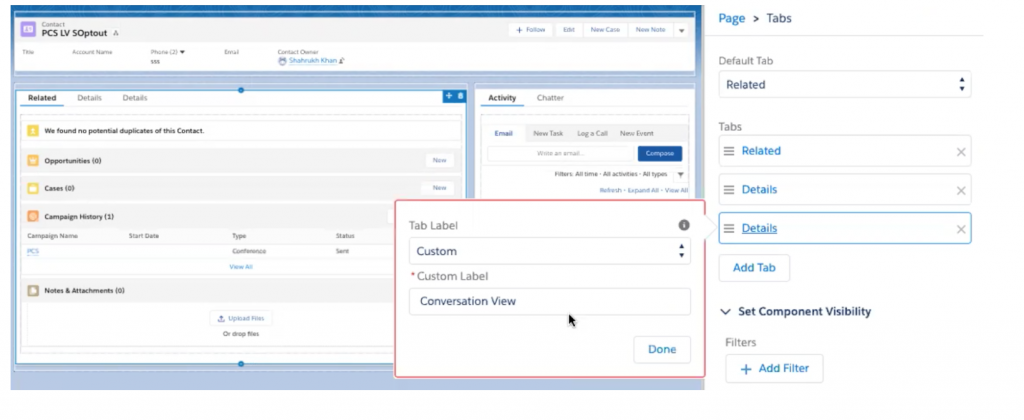
- Enter the label name as Conversation View and click on the Done button. Similarly, the user can add a separate component for Conversation. Once added, the components will appear as shown in the image below:
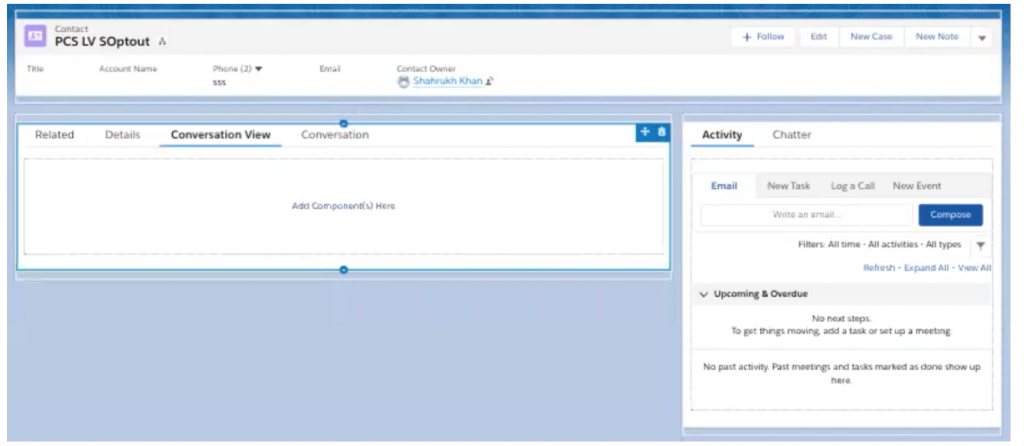
- Here you can see that the Conversation View and Conversation components are added.
- Click on the Conversation View component to proceed:
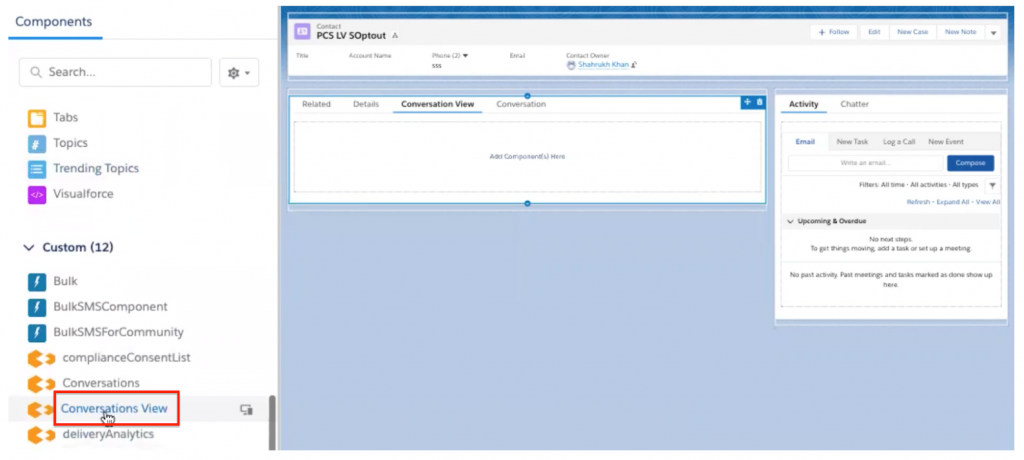
- Drag and drop the Conversations View Component from the Custom Components list in the Conversation View space above
- Here, you can resize the conversation component in lightning
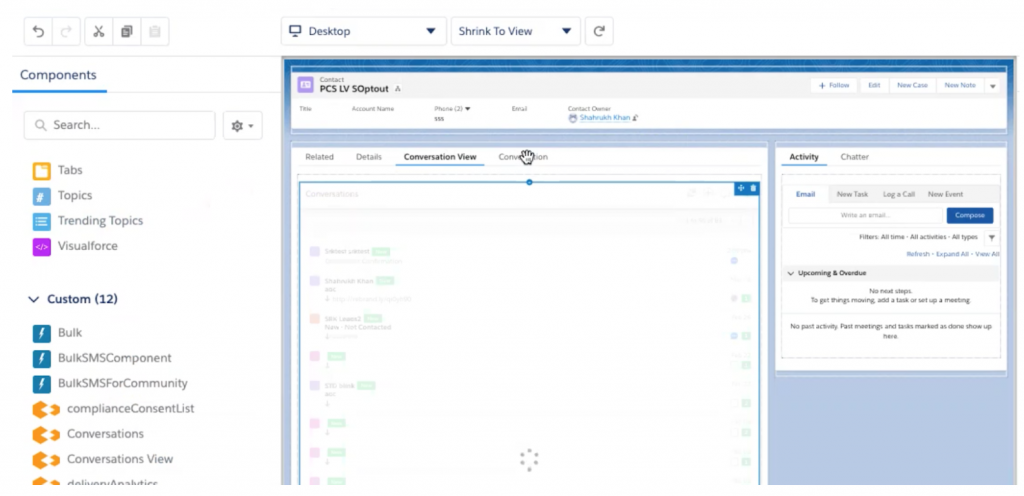
- Here, all the conversations will get loaded
- Similarly, in the Conversation component, drag and drop the Conversations component as highlighted in the image below:
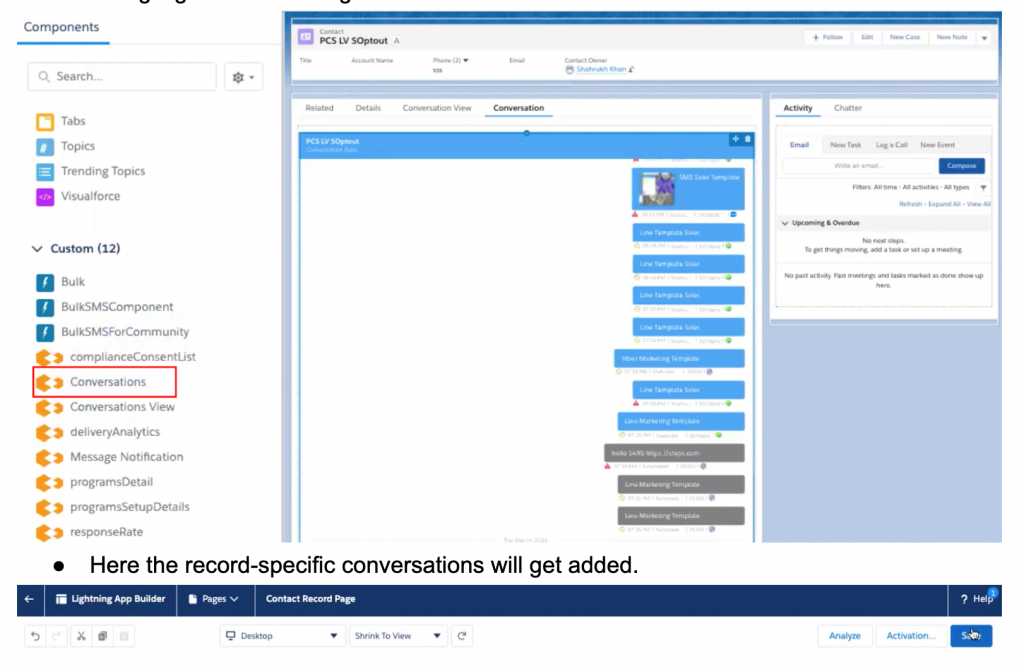
- Here the record-specific conversations will get added.

- Click on the Save button to save the changes. Once the changes are saved, click on the Back button

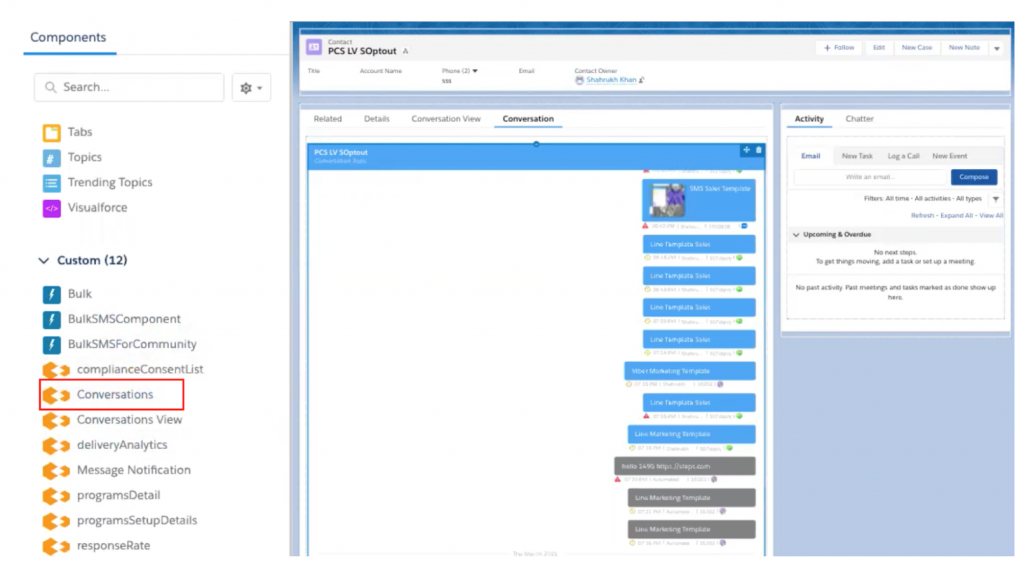
- You will be able to see the Conversation View component with all details on the home page of the Contact
Whereas under the ‘Conversations’ component, you can see the record-specific conversation details, as shown in the image below: