
Configure Custom Inbox
Custom Inbox
A custom inbox is nothing but the list views (with custom filters/lists) created on objects. The custom inbox appears as a sub-menu of the My Inbox menu in the Converse Desk.
Steps to setup custom inbox for users:
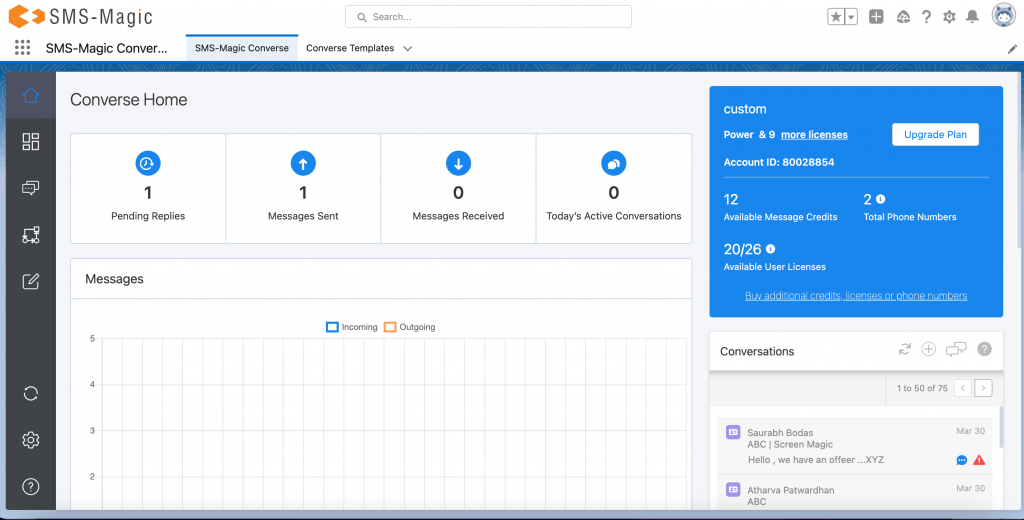
- Login to your Salesforce org with valid credentials. The following page will appear:
2. Go to ‘Converse Settings and click on the ‘Conversations’ section. The following page will appear:
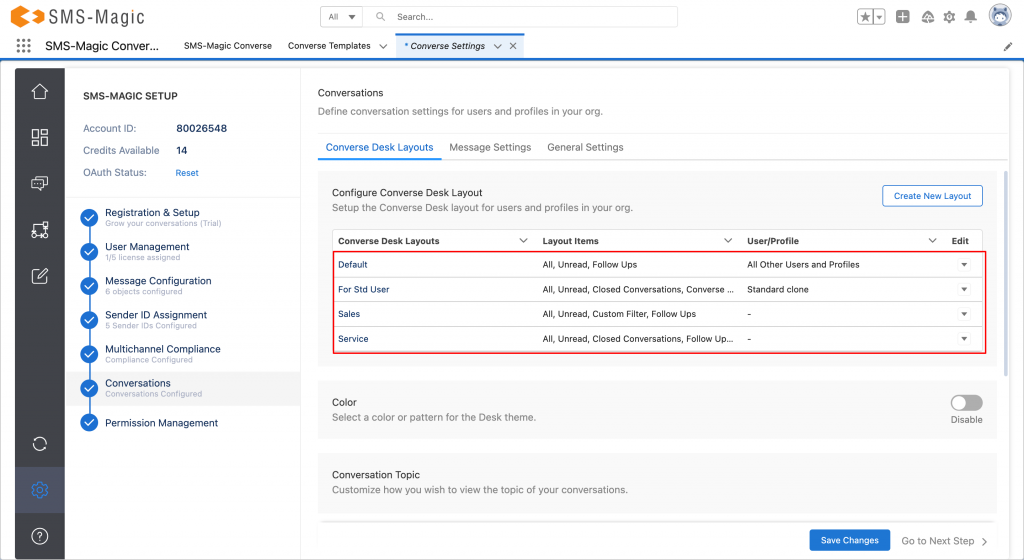
3. Here, in the ‘Conversation Desk Layouts’ sub-section, click on the ‘Create New Layout’ button. The following page will appear:
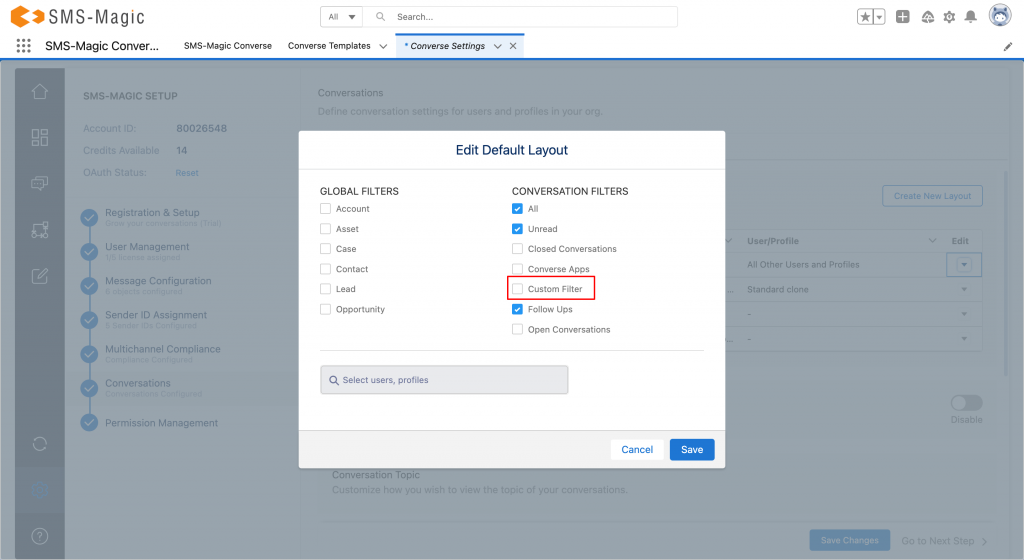
4. While selecting the conversation filters, make sure that the ‘Custom Filter’ option is selected. Click on the ‘Save’ button to proceed.
NOTE: Users will be able to access the Custom Inbox only when the Custom Filter checkbox is enabled in the Converse Desk Layouts sub-menu in Conversations, under Converse Settings. Whoever has access to Conversation Object, will be able to create Custom Inbox.