Configure Run SMS Campaign Button in Classic
To Configure the Run SMS Campaign Button, follow the below steps:
- Login to Salesforce using the following page:
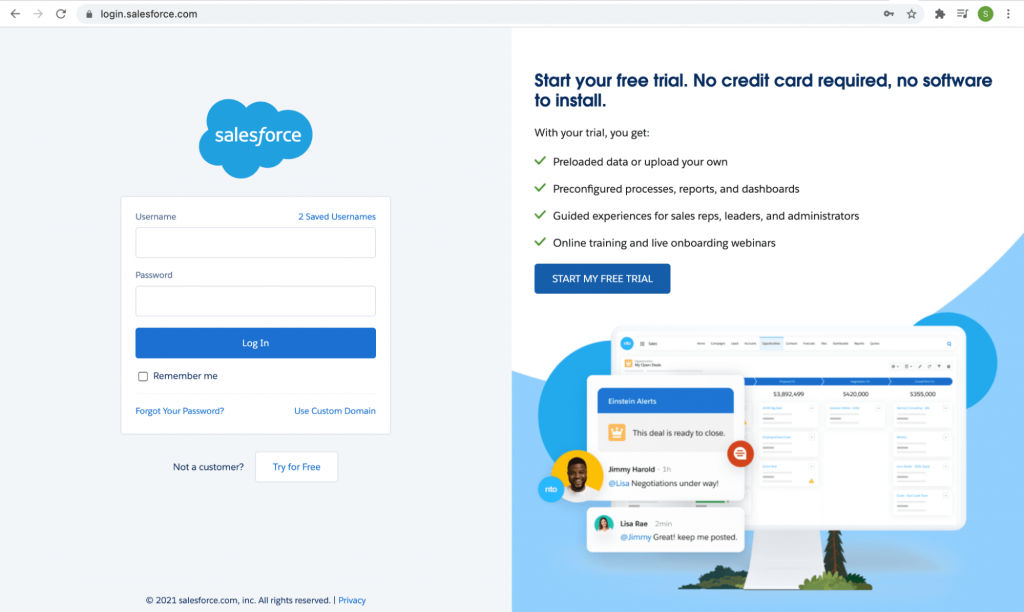
- To login, enter the Username and Password in respective fields and click on the Login button
- The following SMS-Magic Converse Home page appears:
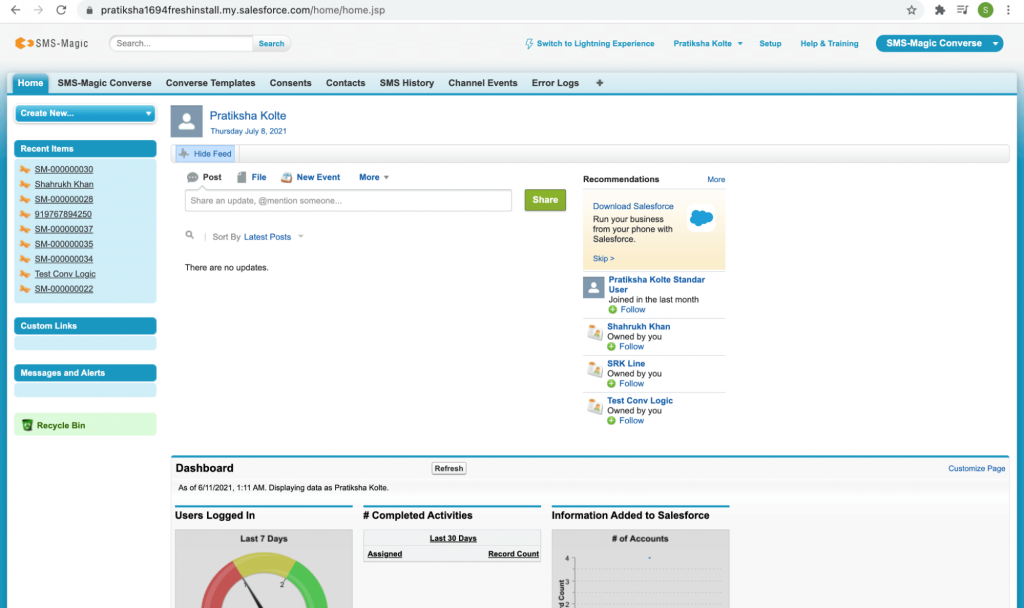
- Click on the + icon ‘All Tabs’ Button the following page will appear:
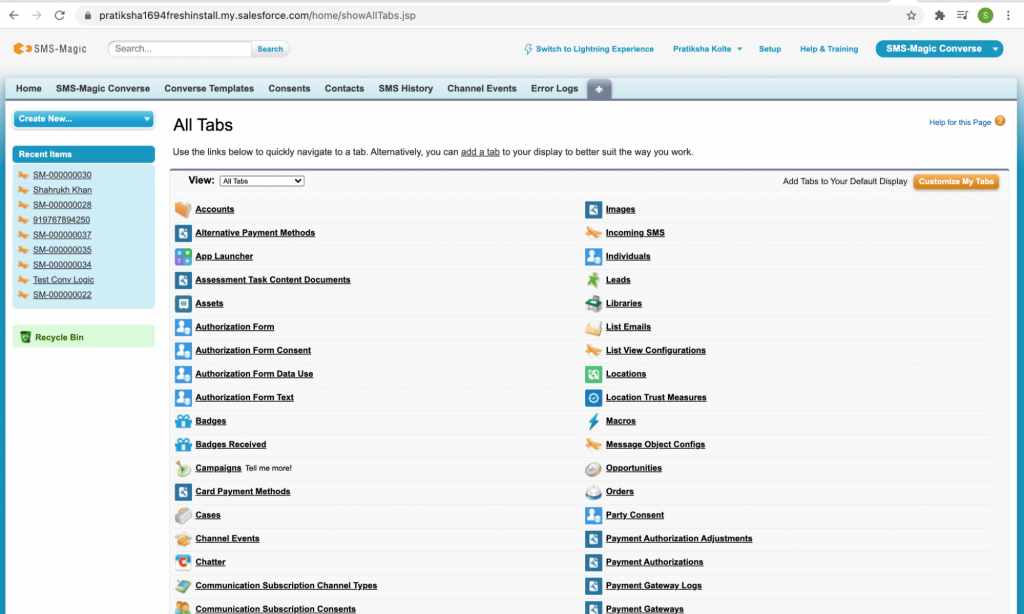
- Scroll down and click on the Campaigns option, you will be redirected to the following Campaign home page:
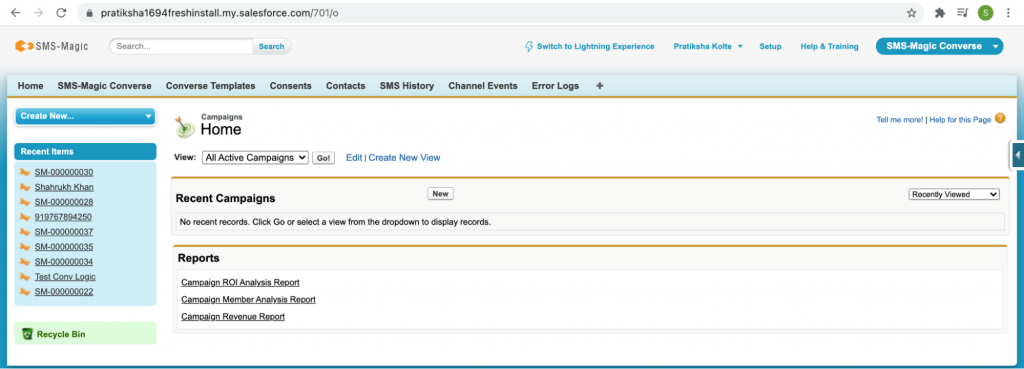
Here, you can create a new campaign.
- Click on ‘New’ the following page will appear:
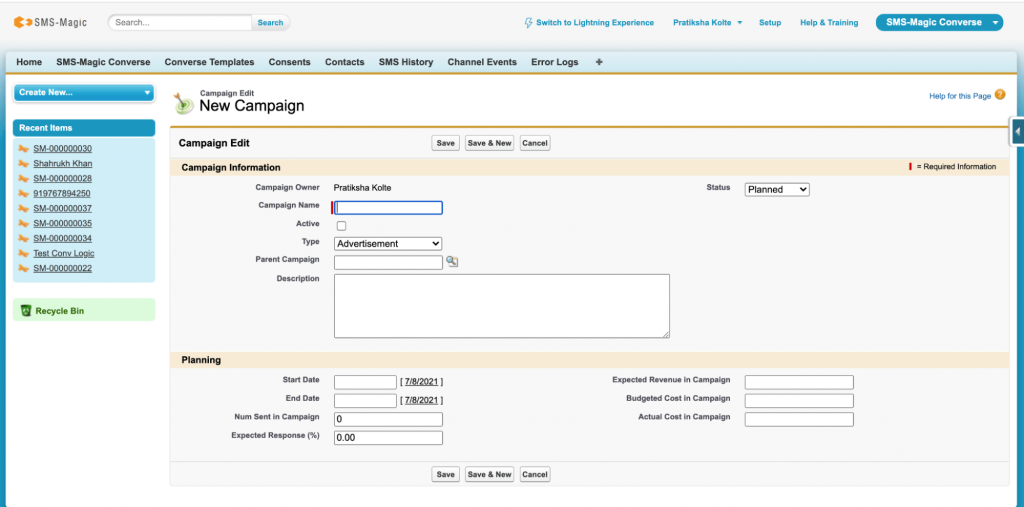
Here, we get to know how the SMS Campaign can be run against a campaign.
Fill in all the details in the ‘Campaign Information’ Field:
- The ‘Campaign Owner’ will be auto-selected
- Enter the Campaign name in the ‘Campaign Name’ field
- Mark the Active Checkbox
- Click on ‘Types’ the following list will appear:
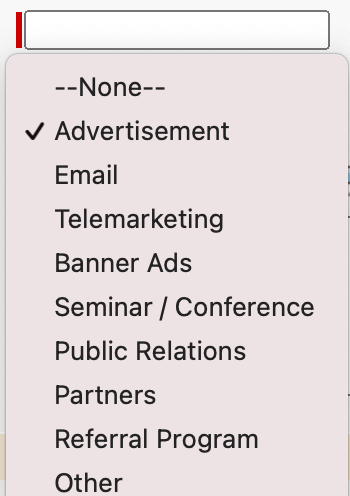
- Choose the appropriate option from the above list
- Fill in all the details in the ‘Planning Information’ field
- The following fields such as Expected Revenue in Budget, Budget Cost in Campaign, Actual Cost in Campaign are taken care of by Salesforce
- Once you enter the details click on the ‘Save’ button and the following page will appear:
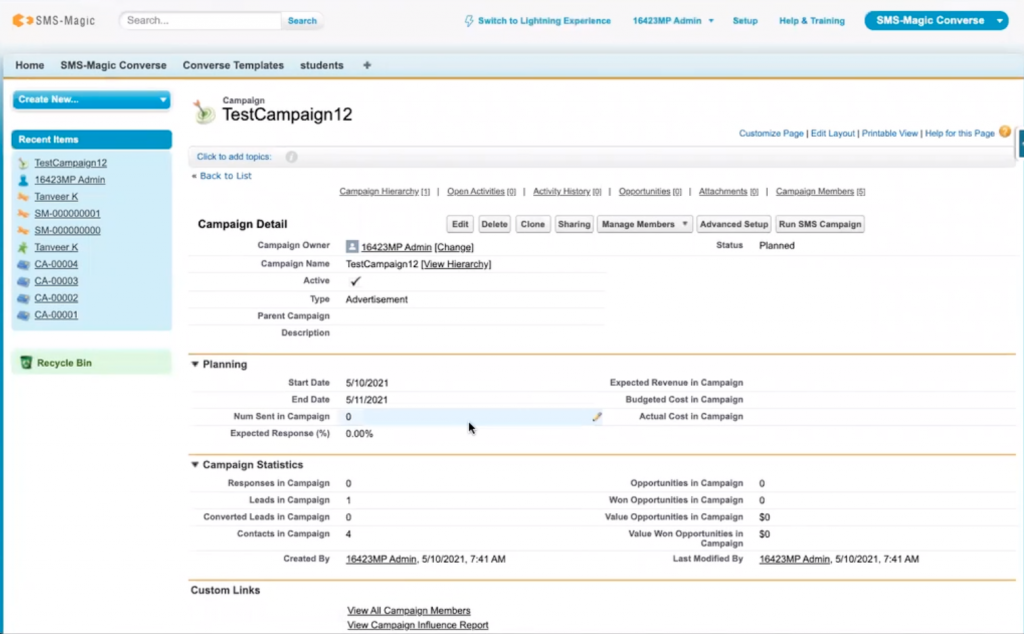
- Once the details are populated, the next step is to run the SMS campaign. Before that, you need to configure the Run SMS Campaign Button. To configure the ‘Run SMS Campaign’ button, click on ‘Edit Layout’, the following page will appear:
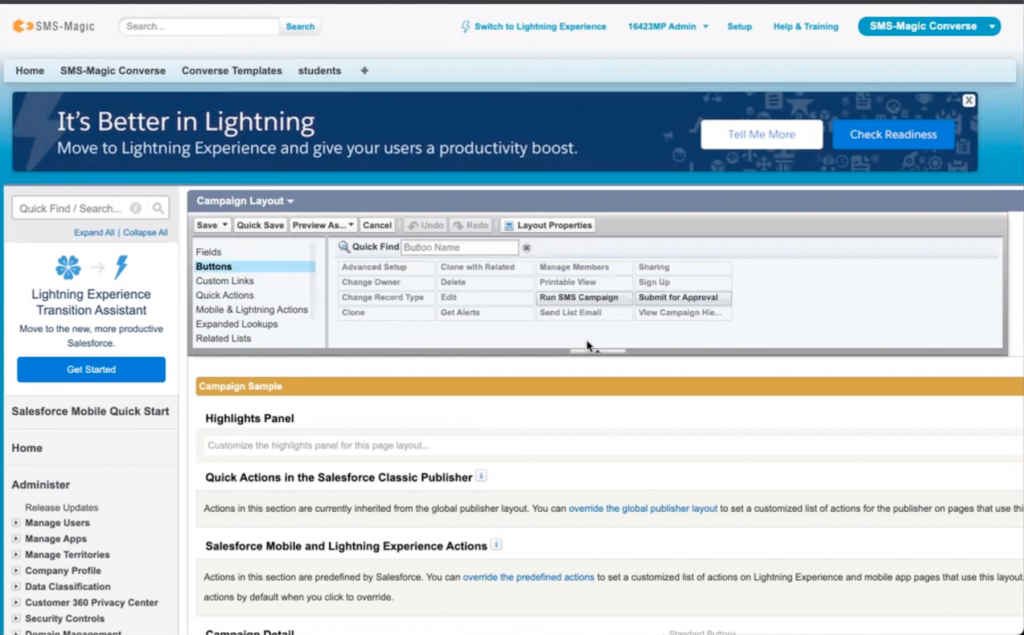
- Under Campaign Layout click on ‘Buttons’ and you will see the ‘Run SMS Campaign’ button.
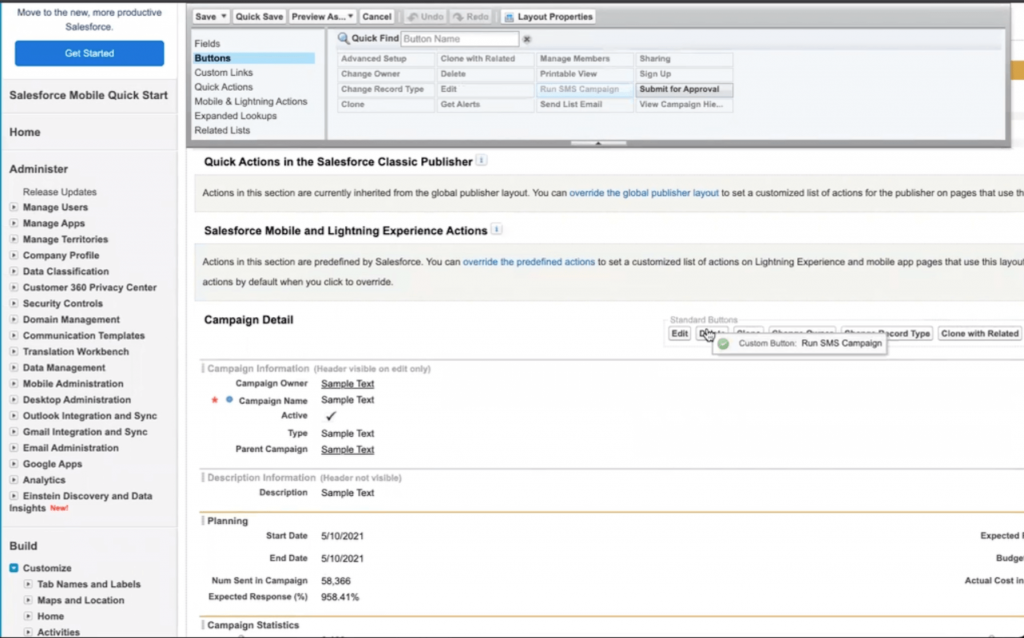
- Drag and drop the Run SMS Campaign button in the below campaign detail section and click on the ‘Save’ button. The following page will appear which shows your Layout has been saved.
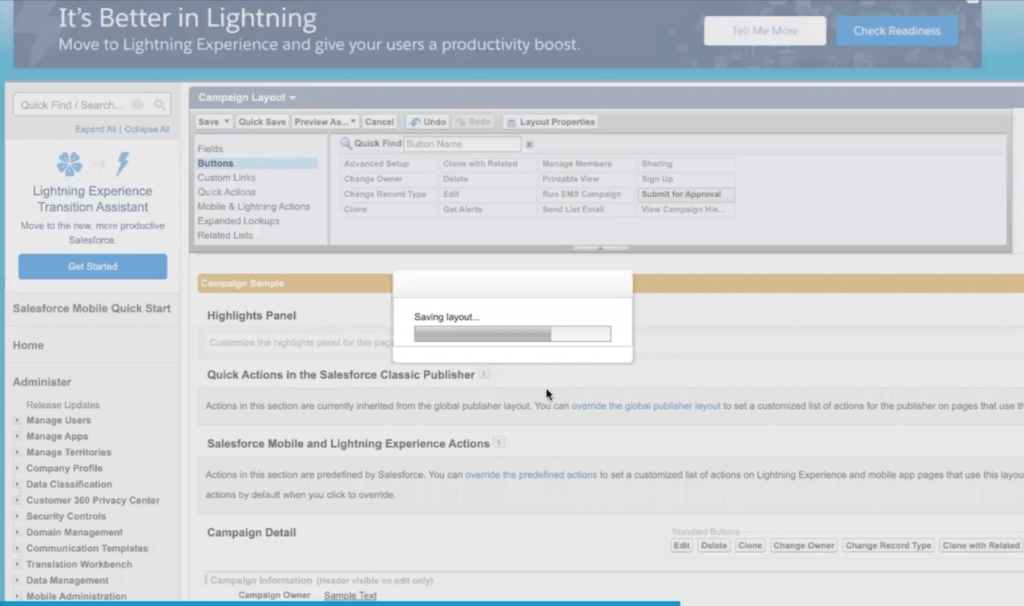
- Once the Layout has been saved the following page will appear:
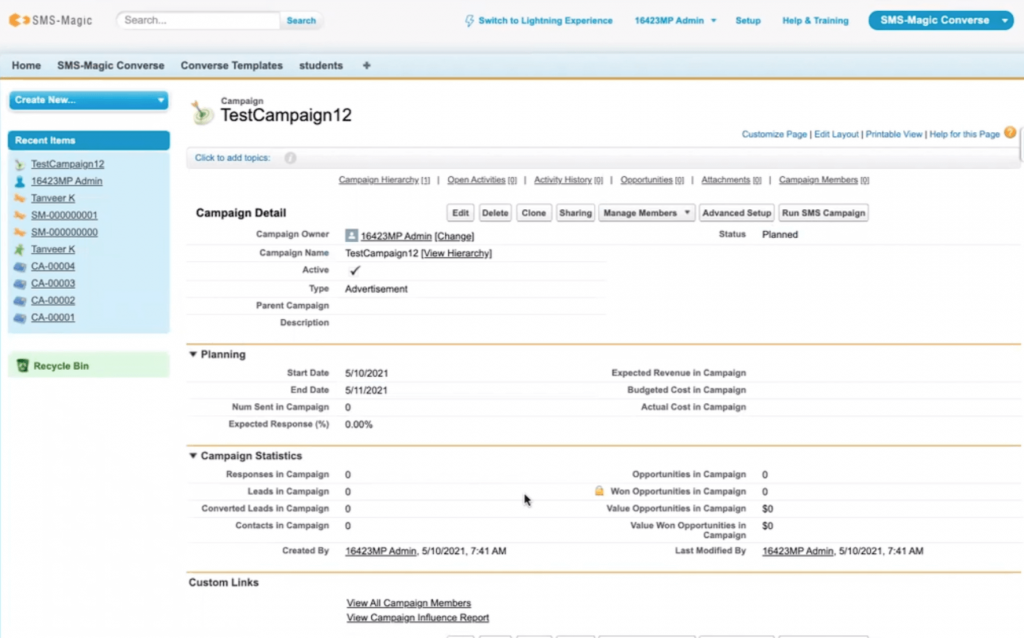
Here, you can see the Run SMS Campaign button which will help you run an SMS campaign. Make sure that before running an SMS campaign you need to add contacts/members.
- Click on ‘Manage Members’ the following list will appear:
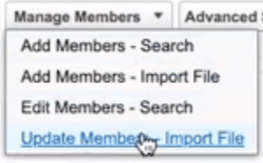
Here, you can ‘Add Members-Search’, ‘Add Members- Import File’, ‘‘Edit Members-Search’, and ‘Update Members-Import File. All this functionality is given by Salesforce.
- Click on ‘Add Members- Search’ the following page will appear:
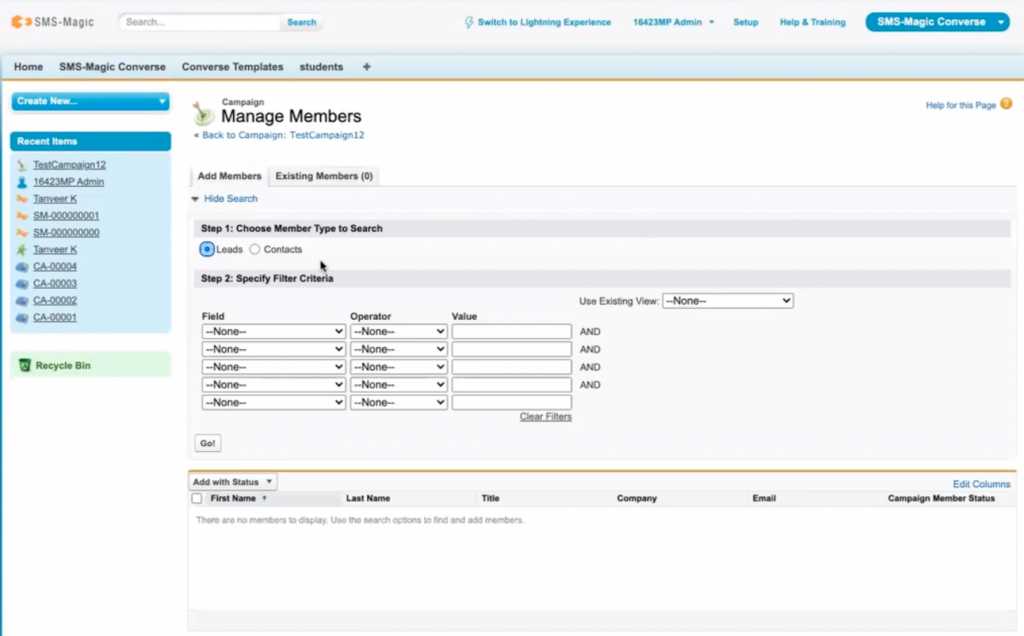
Here, you can add members who are ‘Leads and Contacts’. The campaign supports leads and contacts only. It does not support opportunities as opportunities are not converted to contacts.
- Choose the Leads option as shown in the above screen and click ‘Go’, the following page will appear:
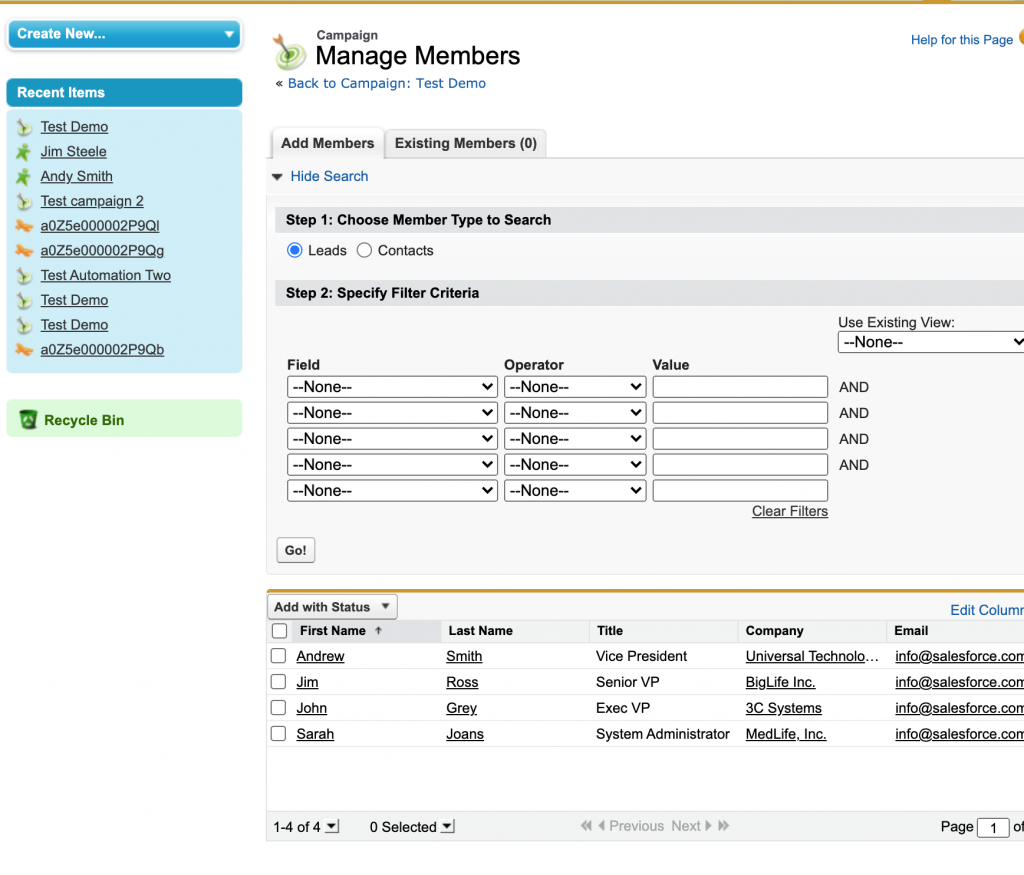
You can redefine your filter and search your data. If you go by default it will give all the data whichever is available.
Below is an example:
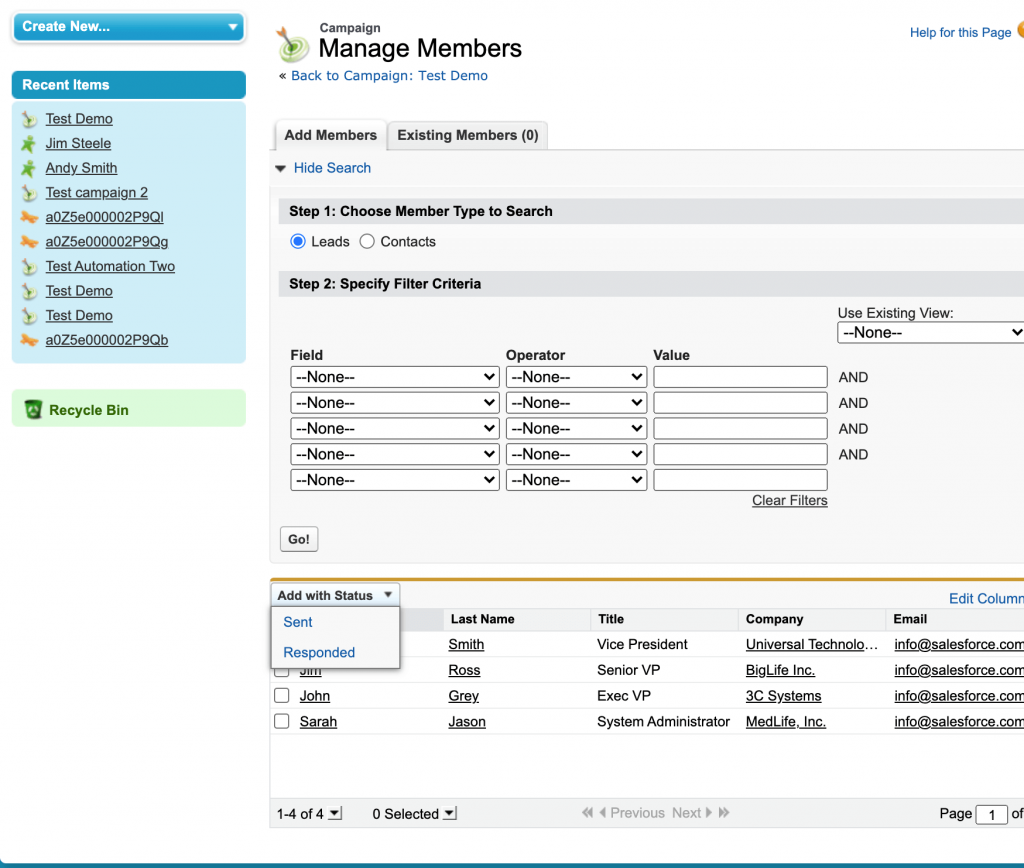
If you want Tanveer as one of the members of the Campaign.
- Click on the checkbox before ‘Sarah’
- Click on ‘Add with status’ the following list will appear:
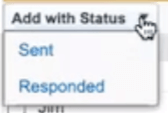
- Click on ‘Sent’ the following page will appear:
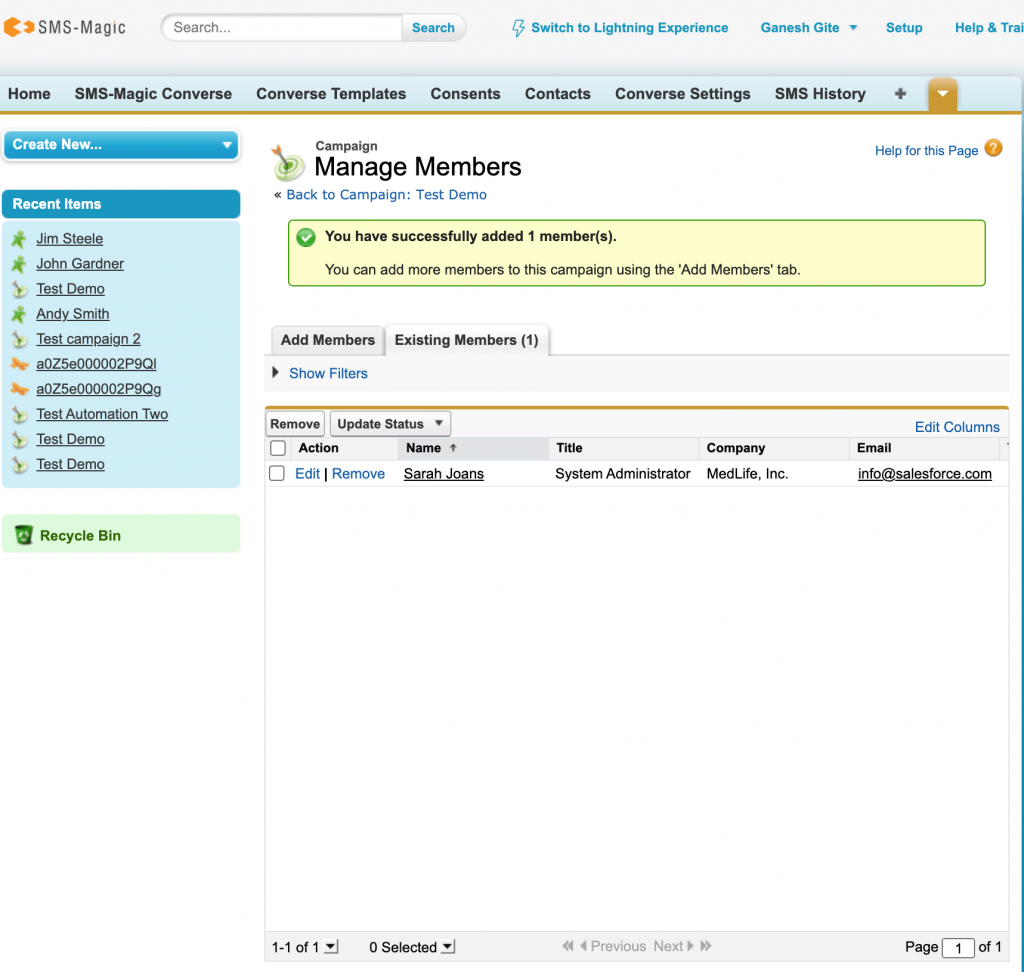
Once you click on ‘sent’ the leads will be added automatically. You can go back to ‘Add Members’, the following page will appear:

- Click on ‘Contacts’ and then click on ‘Go’, the following page will appear:
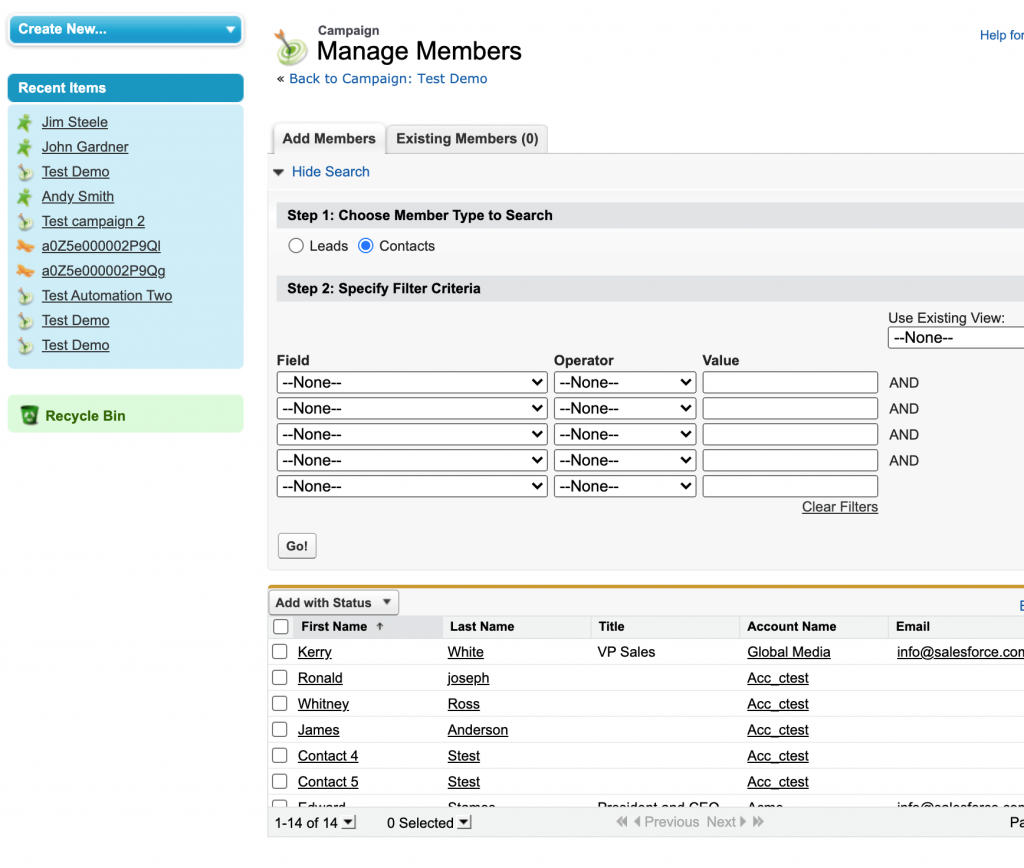
You can add contacts by following the below steps:
- Click on the checkbox and choose the number of contacts you wish to add
- Click on ‘Add with status’, the following list will appear:

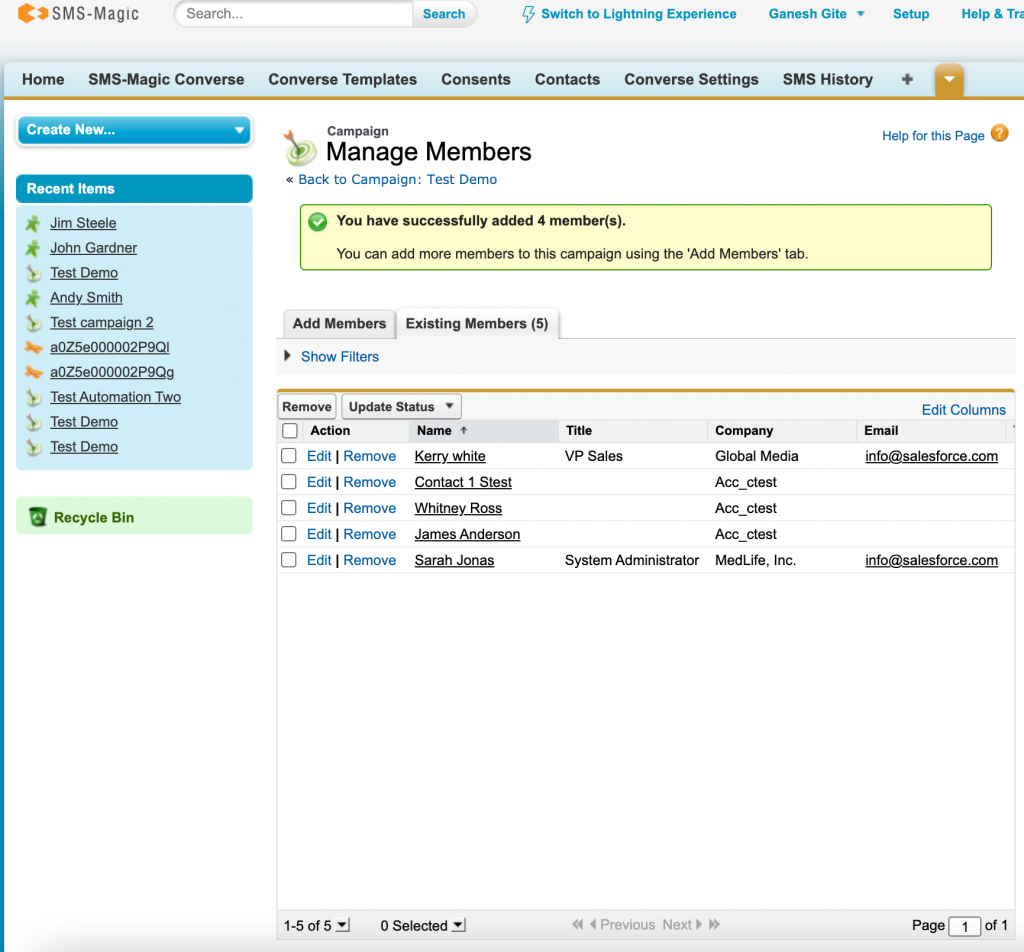
Here, you can see the number of leads and contacts which are added.
- Click on ‘Back to Campaign’, the following page will appear:
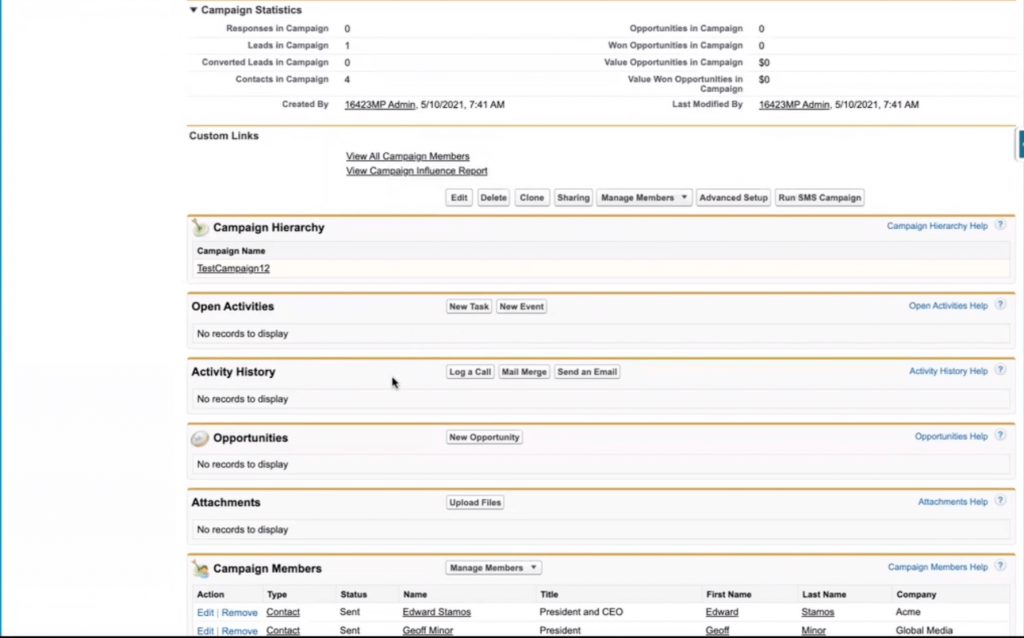

Click on ‘View All Campaign’ it will route you to the member list where you can view the Campaign Members list which you just created.


