Add and Assign Sender ID
With v1.64, we are giving users an ability to choose and assign Sender IDs on your own, of type ‘long code’ corresponding to the destination country selected. To procure and assign channel-specific Sender IDs or Shortcodes or toll-free numbers you will have to contact sales@sms-magic.com. To know more about bringing your own numbers/providers you can check details at link BYON (Bring your own Number) or BYOP (Bring your own Provider).
Add Sender ID
1. Add Sender ID
- Click on the ‘Add SenderID’ button

- If you have chosen a specific country as the destination for your messages, the country selection dropdown will be disabled
- Users can select number type as ‘Long code’
- Select the Sender ID(s) from the list displayed on the page
- Click on the ‘Save’ button

2. For Destination Country= ‘All’
- Click on the ‘Add SenderID’ button

- If you have selected the destination country as ‘All ‘ in the Registration & Setup step from the Converse Setting considering you want to do messaging in multiple countries, the ‘Add Sender ID’ section allows you to choose a specific country; and on search, the associated country-specific Sender IDs will be displayed provided the number licenses for the selected country are available.
- You can select the Sender ID from the search result and click on the ‘Save’ button to get the Sender ID assigned.
- Repeat the same steps for the other destination countries where you want to assign Sender IDs.


3. Channel Type Assignment
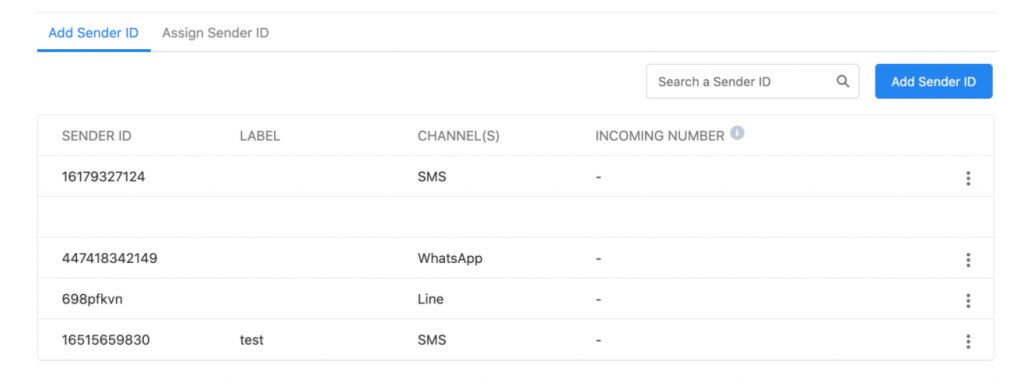
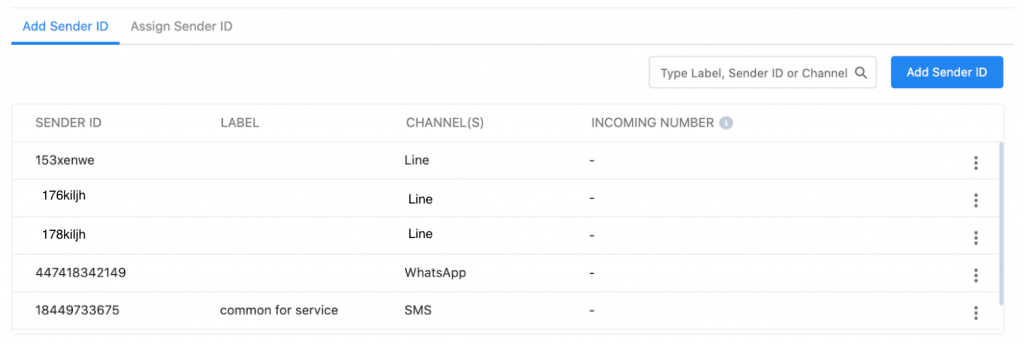
On the Sender ID and Assignment section page, a table will display the ’Channel(s)’ for associated Sender ID.

To procure and assign channel-specific Sender IDs or Shortcodes or toll-free numbers, you will have to contact sales@sms-magic.com. Our support team will help you with the required information and configuration from our end. The channel type associated with the Sender ID will be reflected in the Sender ID & Assignment table.
The available channel types are:
- LINE
4. Channel Type Assignment in Inbox
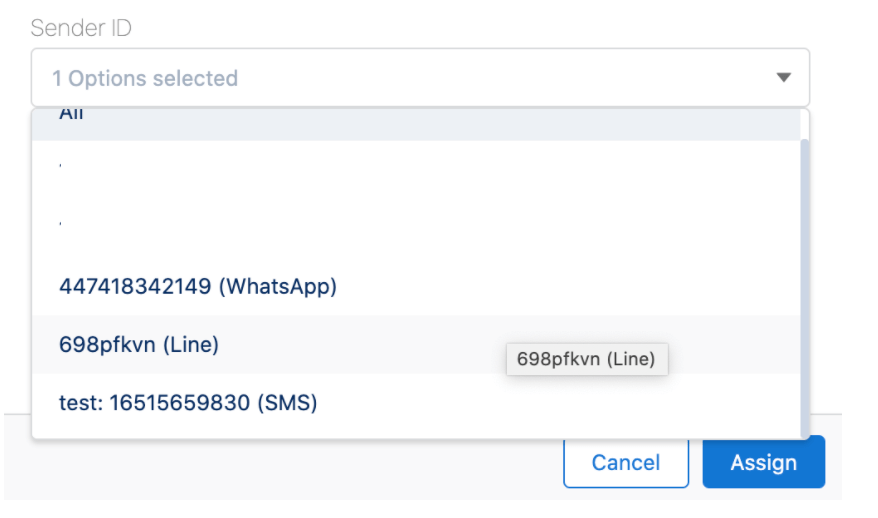
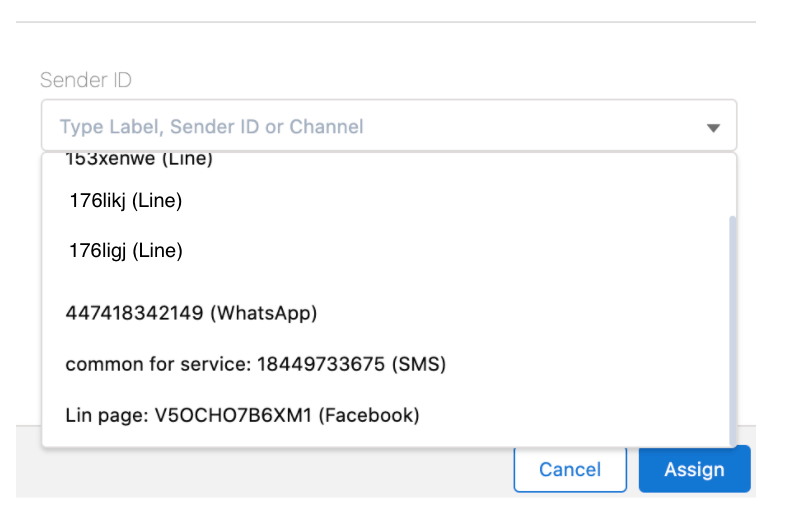
The Sender ID selection drop-down in the conversation view should display separate rows with Sender ID & channel information.

Assigne Sender ID
- Assign Sender ID

Once you complete the steps for adding a Sender ID, you then need to assign it to the users. Click on the ‘Assign Sender ID’ tab, the following page will appear:

Here, you can see the details such as user name, email ID, default Sender IDs, and assigned Sender IDs.
- Click on the checkbox beside the user name to select one or multiple users
- Click on the ‘Assign Sender ID(s) button. The following window will open:

- Select Sender ID, channel, or label from the ‘Sender ID’ dropdown field:

- Select the default Sender ID:

- Click on the ‘Assign’ button to assign the selected Sender ID(s)


